
So when I started plugin development I referred some blogs and videos then quickly started building plugins. Easy Peasy !! 🙂
In most of the blogs and videos on plugin development I haven’t found any one focusing on debug vs release part.
Every time I would write a plugin I would see two folder while trying to Register the plugin Debug and Release . But I didn’t care less. One day it just hit me what is this release folder and why is this even present as it always used to be empty after building the project.
Microsoft be Like – Seriously?? why it’s present ??? We have named it Release it cannot be more obvious than this. It for Release (Deployment) you dumb**s 🤦♂️🤦♂️🤬


I know people from .NET background or the people who have learnt this in early stage of their plugin development would be like Hey this like 101 of Development.
But for the folks on the other side who are like me. Lets get Started will explore what is difference between the two with some live example.
In short bin\debug is for development and bin\release is for deployment
Navigate to Visual studio -> Properties . You will see the below window. If You click on Configuration Drop Down there will be two option debug and release

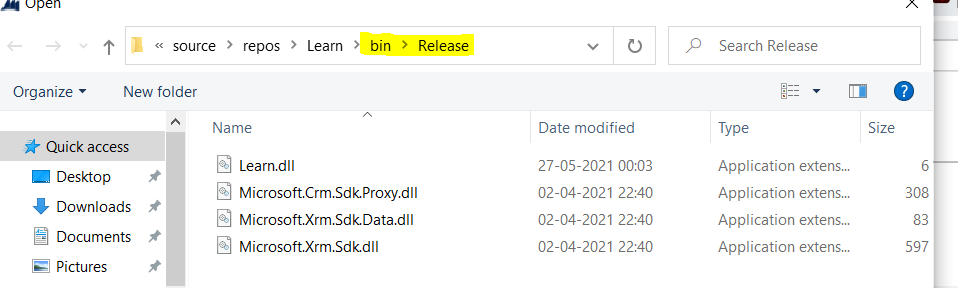
If you select Release -> Ok and Build the plugin. You will be able to see the dll in the release folder.
Release builds are optimized for speed and debug builds are optimized for well debug-ability.
Let’s prove this.
Consider the below code. In this program Execute Invoke A the A calls B, which calls C, which calls badMethod which throws an exception. So far, makes sense right?
If you will check the trace of the plugin in Debug mode and Release mode you will notice the difference.
using Microsoft.Xrm.Sdk;
using System;

namespace MicrosoftLearn
{
    public class DebugVsRelease : IPlugin
    {
        public void Execute(IServiceProvider serviceProvider)
        {
            IPluginExecutionContext context = (IPluginExecutionContext)serviceProvider.GetService(typeof(IPluginExecutionContext));
            IOrganizationServiceFactory factory = (IOrganizationServiceFactory)serviceProvider.GetService(typeof(IOrganizationServiceFactory));
            IOrganizationService service = factory.CreateOrganizationService(context.UserId);
            ITracingService tracingService = (ITracingService)serviceProvider.GetService(typeof(ITracingService));
            if (context.InputParameters.Contains("Target") && context.InputParameters["Target"] is Entity)
            {
                try
                {
                    methodA();
                }
                catch (System.Exception e)
                {
                    tracingService.Trace(e.ToString());
                }
            }
        }
        static void methodA() { methodB(); }
        static void methodB() { methodC(); }
        static void methodC() { badMethod();}
        static void badMethod() {
                 throw new ApplicationException("Error Occured in plugin in badMethod");
       }
    }
}
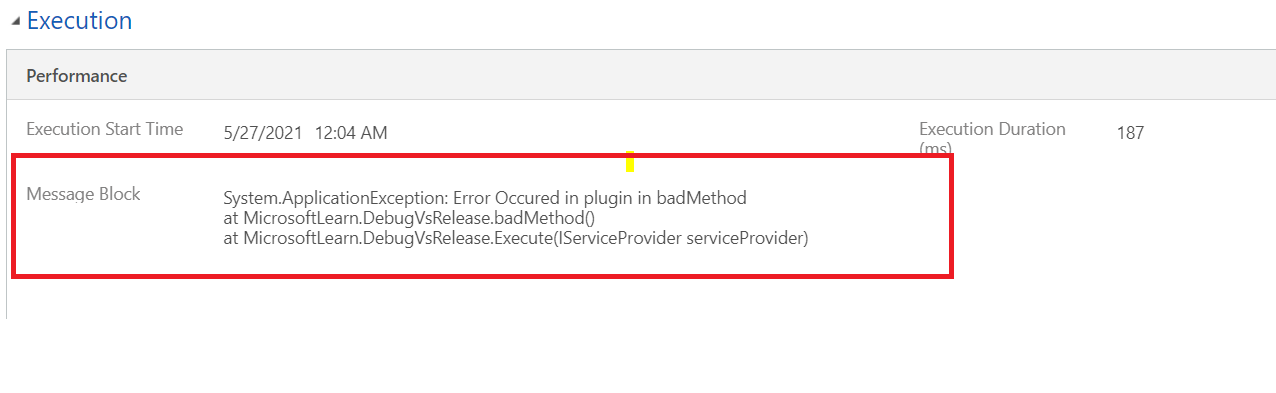
Debug Mode : Complete Stack Trace

Now build the same plugin in release mode and deploy it to CRM from the release folder.

Our call stack has been “collapsed”?
What you write isn’t exactly what runs, especially when things are optimized. In Release version our code gets optimized. Not every method got their own local stack frame as they were optimized into fewer methods. This technique used by Just-In-Time compiler(JIT) to optimize the code is called Method Inling.

If you want to check if JITER (Just in time compiler) is really doing inling or not. Use [MethodImpl(MethodImplOptions.NoInlining)] for every method it will tell the Just in time compiler not to inline the method. But it’s beating the whole purpose of JITTER optimization.
As you can see after using [MethodImpl(MethodImplOptions.NoInlining)] inling by JITER (Just in time compiler) is suppressed and we call see the entire call stack similar to debug mode.

So far so so good
Now let’s decompile both the debug dll and release dll to see the difference if any?
How to decompile dll: Download dotPeek and use it to open the dll.
First Release dll

Now Debug dll :

You can see debugging mode is default and most important is DisableOptimization. So in debug mode optimization of the code is disable where as in release mode code is optimized.

Some optimizations performed by JIT compiler are as below. Details can be found here https://flylib.com/books/en/4.453.1.45/1/ https://www.codeproject.com/Articles/25801/JIT-Optimizations
• CPU register allocation
• Array index checking elimination
• Loop unrolling – Short loops (up to 4) with small bodies are eliminated by repeating the code in the loop body.
• Dead code elimination – A statement like if (false) { /…/ } gets completely eliminated.
• Code hoisting- Code inside a loop that is not affected by the loop can be moved out of the loop.
• Common sub-expression elimination. x = y + 4; z = y + 4; becomes z = x
So now we know some bit of info about release and debug mode.

Its very clearly written in Microsoft docs to use release configuration for deployment

I have personally seen many enterprise level projects deployed in debug mode.
Credits : Internet
Thank you for reading through 🙂


